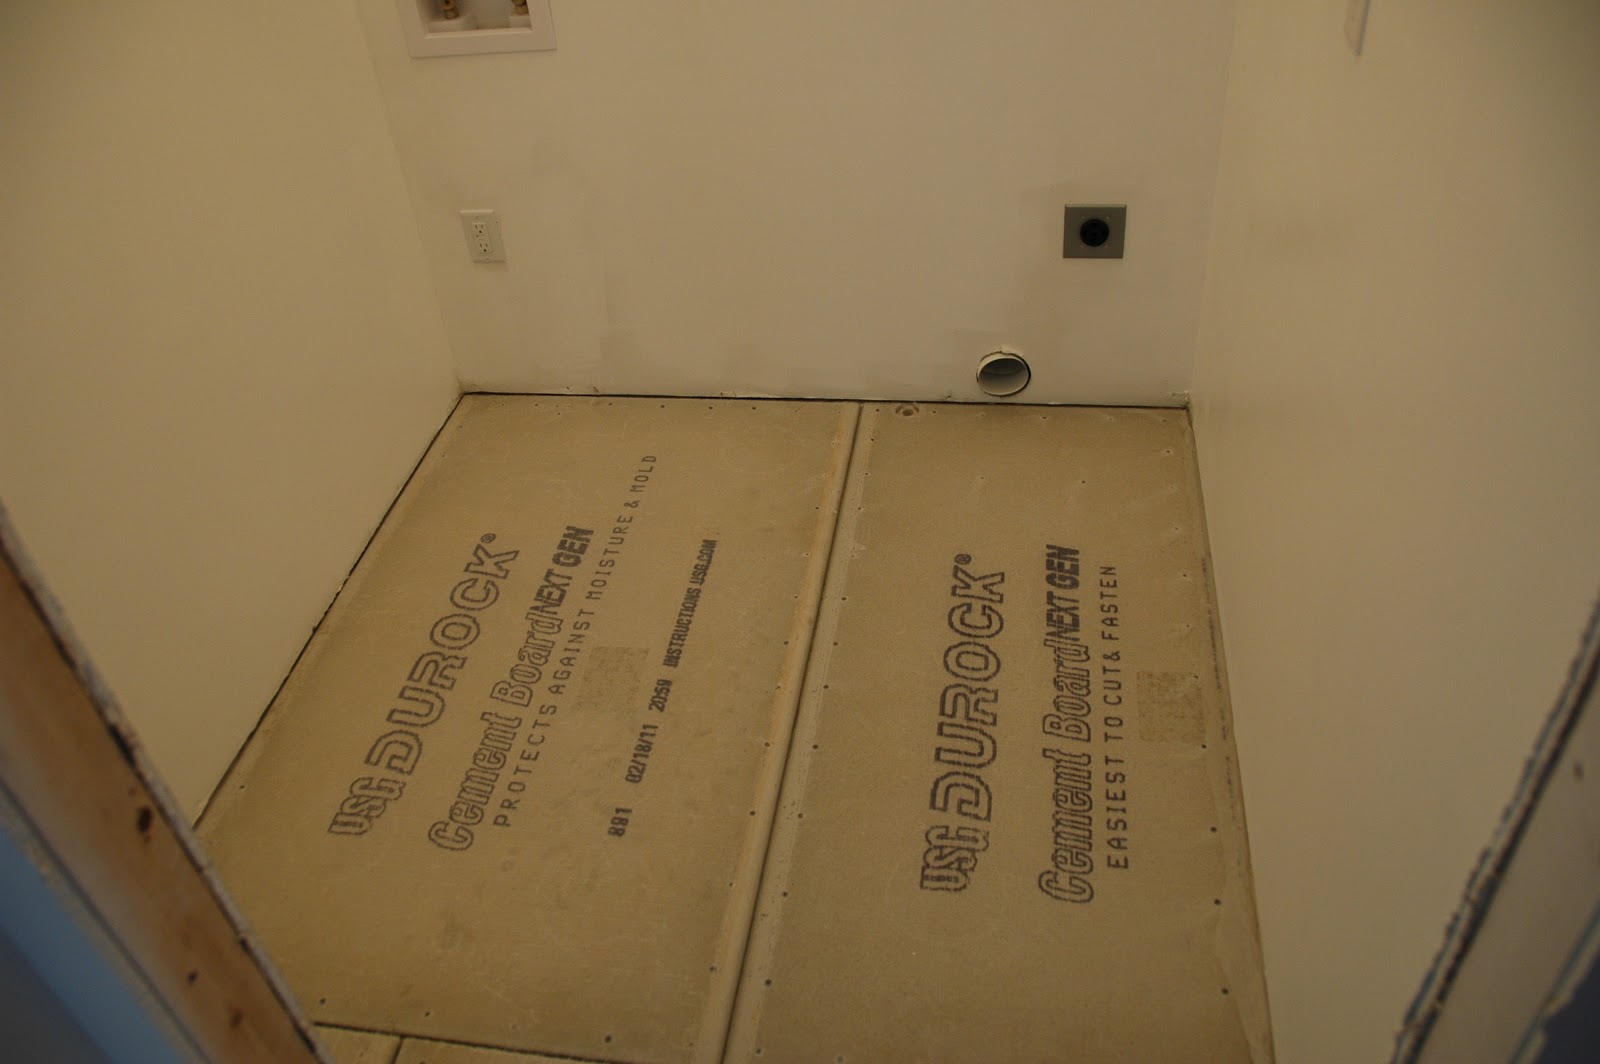
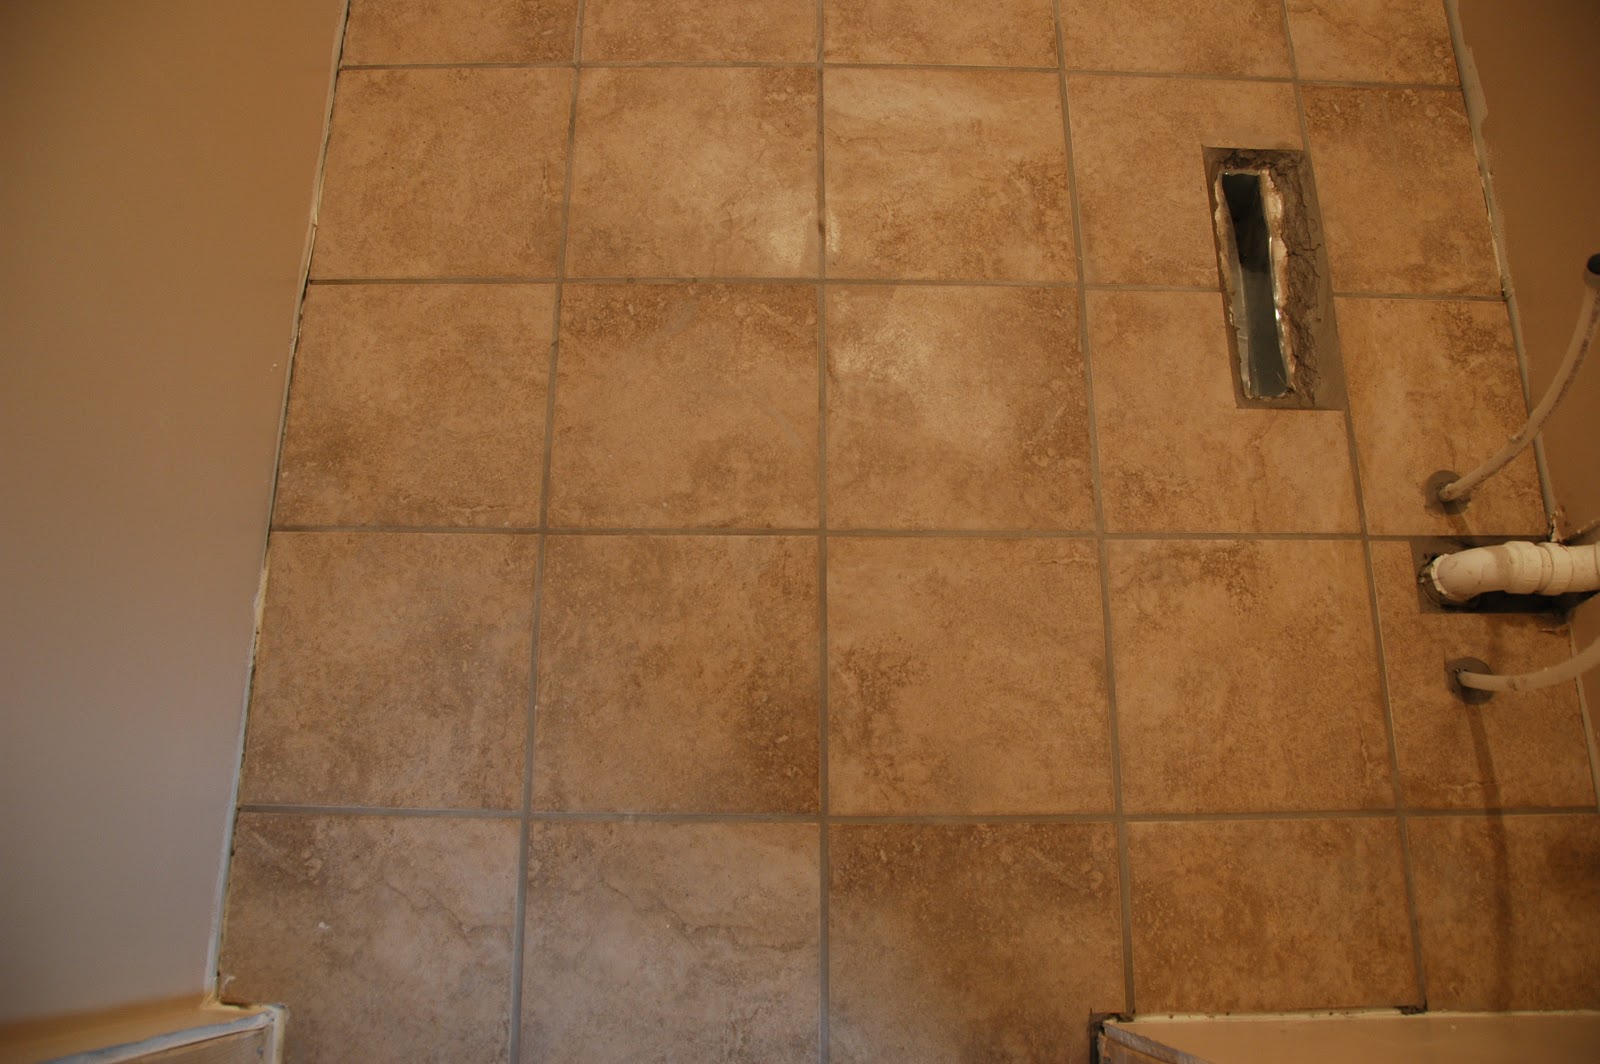
Lots of progress made on the tile lately . . . the laundry room is completed:
The back wall of the master shower has the tile set:
Finally, the 2nd bathroom shower is cement boarded and just about ready for tile. The floor here is complete, like the master bathroom:
Monday, April 18, 2011
Wednesday, April 6, 2011
More painting and tile prep
Wow, things have been busy since the last update! Where do I begin...
Well, we got the big common area room all painted in a very light blue/green - very subtle. It went quicker than I thought it would!
Next, tile prep has continued in the laundry room and 2nd bathroom. The laundry area is all laid out and ready for the thin-set:
The master bathroom shower is about ready for the tile layout, and the 2nd bathroom shower area is just beginning with the vapor barrier:
With the warm weather lately, things look a bit different outside!
Well, we got the big common area room all painted in a very light blue/green - very subtle. It went quicker than I thought it would!
Next, tile prep has continued in the laundry room and 2nd bathroom. The laundry area is all laid out and ready for the thin-set:
The master bathroom shower is about ready for the tile layout, and the 2nd bathroom shower area is just beginning with the vapor barrier:
With the warm weather lately, things look a bit different outside!
Monday, March 21, 2011
Cabinets, Tiling, Carpet, Door, etc...
Lots of progress this weekend! We did a bit more prep for tiling in both the guest bathroom...
... and the laundry room ...
Next, we put carpet in the walk-in closet in the master suite:
The big project though was tiling the master bathroom! It took a good part of the day just to lay out and cut the tile. A good tile saw with a water-cooled diamond blade makes the straight cuts easy, though cutting holes for plumbing is still a real challenge even with a tungsten-carbide drill bit.
After prepping the tile, we used a notched trowel to lay out the thin set and then set the tile using these nifty little spacers called TileJax! They make getting good even grout lines very easy, and are reusable. After letting the tile harden for about a day, we then applied the grout and ended up with pretty nice results.
After getting the tile set, we hung the closet door, a nice six panel solid cherry door. Quite heavy!
Today, I did the final wipe-down of the tile floor. You always end up with a bit of grout dust on the tile no matter how well you wipe down during the install:
It shines up real nice after another wipe down with a damp sponge after the grout has had a day or so to dry:
... and the laundry room ...
Next, we put carpet in the walk-in closet in the master suite:
The big project though was tiling the master bathroom! It took a good part of the day just to lay out and cut the tile. A good tile saw with a water-cooled diamond blade makes the straight cuts easy, though cutting holes for plumbing is still a real challenge even with a tungsten-carbide drill bit.
After prepping the tile, we used a notched trowel to lay out the thin set and then set the tile using these nifty little spacers called TileJax! They make getting good even grout lines very easy, and are reusable. After letting the tile harden for about a day, we then applied the grout and ended up with pretty nice results.
After getting the tile set, we hung the closet door, a nice six panel solid cherry door. Quite heavy!
Today, I did the final wipe-down of the tile floor. You always end up with a bit of grout dust on the tile no matter how well you wipe down during the install:
It shines up real nice after another wipe down with a damp sponge after the grout has had a day or so to dry:
Tuesday, March 15, 2011
Color!
Over the weekend, with the help of some wonderful people, I got many rooms in the house painted.
Above is the 2nd bedroom, which will be used as an office initially. Below is one of the kitchen walls.
Next, the master bedroom. The vaulted ceilings (12 feet at the peak) made it a bit tricky but we got it done.
Both bathrooms were painted as well, in a lighter shade, seen below.
Above is the 2nd bedroom, which will be used as an office initially. Below is one of the kitchen walls.
Next, the master bedroom. The vaulted ceilings (12 feet at the peak) made it a bit tricky but we got it done.
Both bathrooms were painted as well, in a lighter shade, seen below.
Driveway
With warmer weather today, along with some rain, the driveway was set to become a muddy mess. Fortunately, we got some crush rock down which helps a lot, and will become a good base for the eventual asphalt.
Subscribe to:
Posts (Atom)